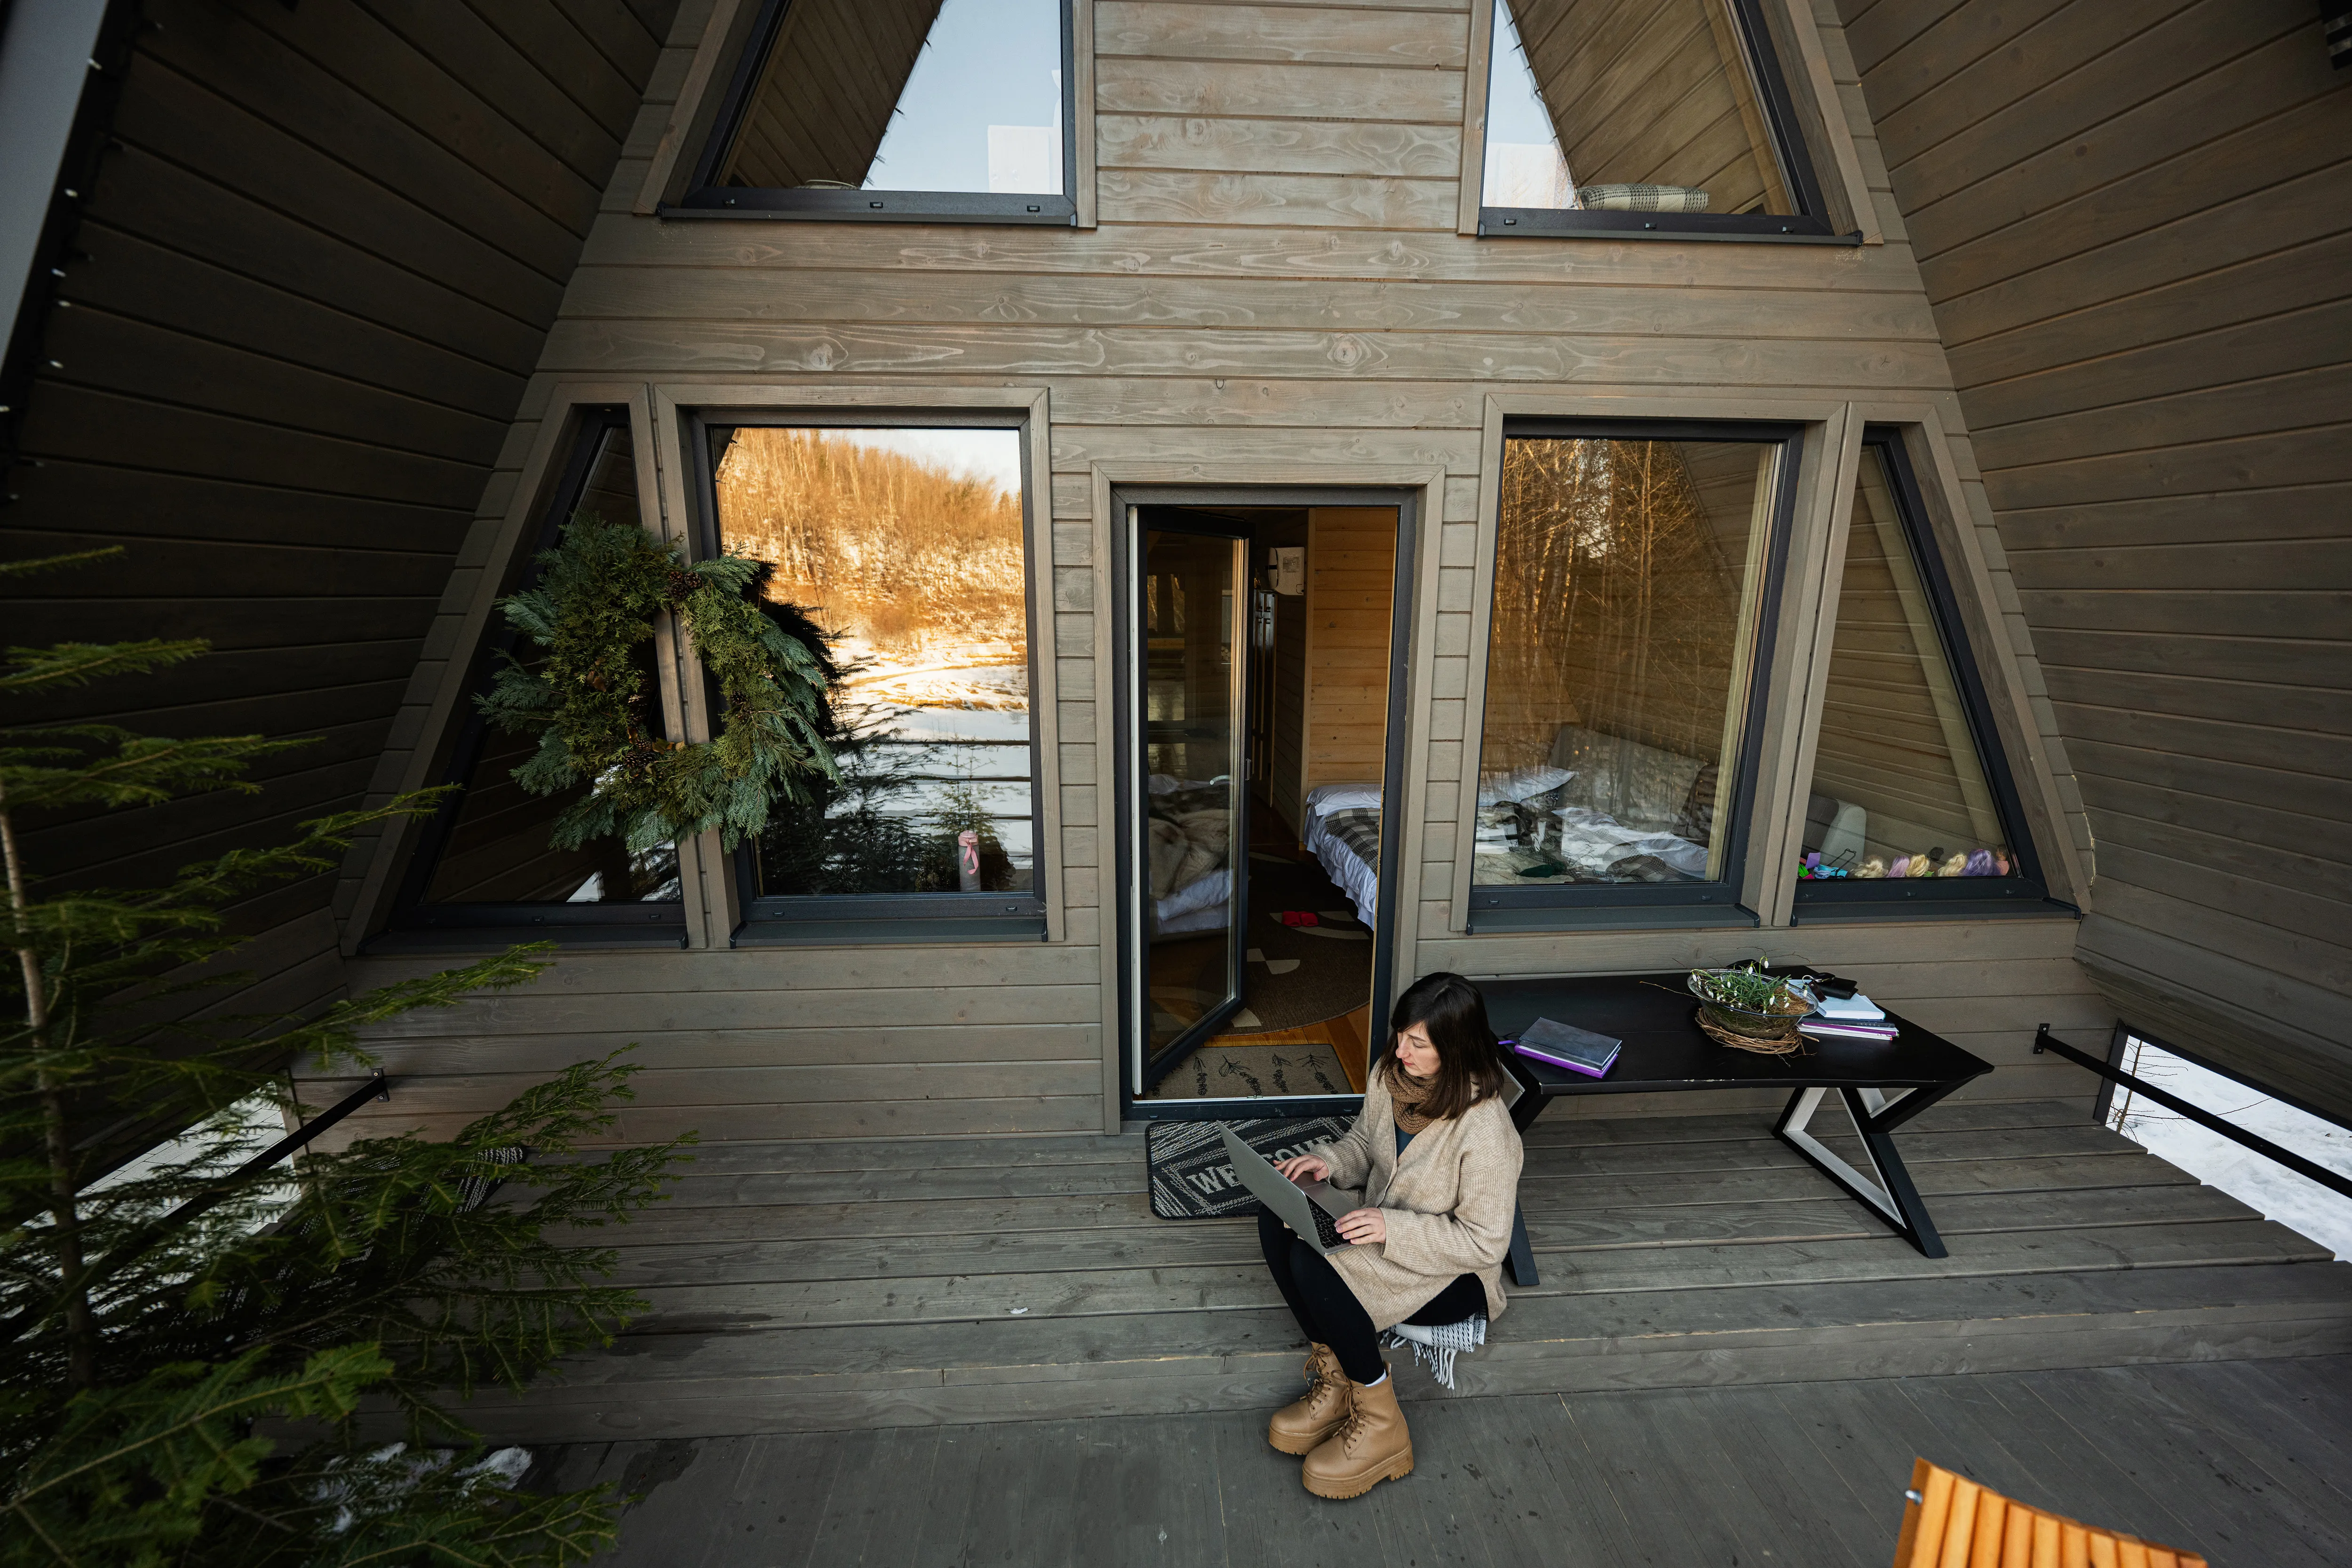
There are several reasons you might be considering a downsize. Maybe your children are grown and out of the house or maybe you simply no longer want to care for rooms you don’t really use. Downsizing can also help save money on rent or mortgage costs and give you more flexibility to travel. This means that downsizing isn’t necessarily a bad thing. In fact, it can be quite freeing. You’ll likely find that you adjust to your new space quickly, but the process of getting there can take a lot of work. To help you get the most out of your efforts, consider some tips on how to downsize your home.
11 Steps for Downsizing Your Home
Downsizing your home can seem a little overwhelming at first, but if you take things step by step, it gets a little more manageable. To help you work through this process, consider the following.
1. Think About the Size of Your New Space
The first thing you should do is think about the size of your new space in comparison to your current space. Are you going to be downsizing a lot, or just a little bit? This will help you to determine how much you need to get rid of or move into self-storage before moving day. Pay special attention to the available space for larger items like appliances, furniture, and pieces of décor.
2. Take Inventory of Your Belongings
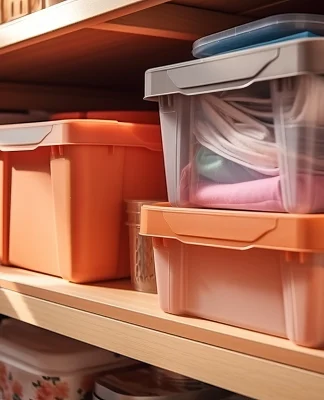
Next, try to take a comprehensive inventory of all your belongings. While this can seem like a redundant task, doing so before you start going through things can help you better understand what you have. You may have accumulated duplicates of certain items or be holding on to things that you haven’t used for years. Your inventory should include everything that you have in storage, things that are hidden under the beds, and items in bins kept in your garage.
3. Start Early and Go Slow
The key to successful downsizing is to start as soon as possible and give yourself enough time to get things done. This means getting to work as soon as you know you’ll be moving to a smaller space. To make things go as smoothly as possible, about three months is recommended. You can begin the process of downsizing with some basic decluttering here and there, or by removing duplicate items that you found during inventory. Giving yourself enough time means that you only need to dedicate about 10 to 20 minutes per day in order to finish by your moving date. Some methods that can be utilized throughout include the closet-hanger method for going through your clothes, the KonMari method of items that bring you joy, or using the box method to separate items into categories.
4. Begin with the Big Decisions
You should also begin the process of downsizing by evaluating your bigger items. Since you’ll likely be able to sell these types of things for some good money, you want enough time to list them and have them picked up before you need to move. This may include things like your washer and dryer or kitchen appliances. If your new space already has these, there’s no point in bringing yours along too. Alternatively, you can prepare them for self-storage in case you move again later on. Other big decisions that should be made early include what you’re going to do with sentimental items or how you plan to store any collections you’ve accumulated.
5. Focus On One Room at a Time
Once you’ve decided how to handle the bigger items, start going through each room in your home one by one. This can help reduce the feelings of overwhelm and avoid distractions along the way. Start with the rooms that will be easiest, such as guest rooms, basements, or storage closets. This can help you ease into the process of downsizing, as items in these rooms tend to be less used than those in your bedroom, kitchen, or living room. Don’t get started on a new room until you’ve completely gone through the one that you’re working on.
6. Minimize Duplicates
As mentioned, taking inventory of your belongings may shed light on some duplicate items within your home. Don’t keep more than one of each type of items. Instead, look at the quality and age of both and keep the one that’s in better condition.
You can also minimize duplicates in the kitchen, especially if you have an excessive amount of dishware. The kitchen in your new home may not be able to accommodate as many cups, plates, or mugs, so try to limit them to what you’d use in about three to five days. If any of these items are sentimental or you can’t seem to part with them, move them into a self-storage unit for safekeeping. This will allow for a nice, clutter-free kitchen in your new space.
7. Factor in Lifestyle Habits
Your lifestyle habits and hobbies are unique to you, so take that into consideration when downsizing. If drawing or painting brings you a lot of joy, don’t get rid of your art supplies to save space for a guest bedroom. Try to focus on making downsizing changes based on the things that are important to your life, as this will allow you to reduce your belongings without reducing your quality of life.
8. Try Not to Make Exceptions
Living in small spaces means that you can’t make too many exceptions for holding onto unnecessary items. While things that have sentimental value may be more difficult to let go of, try not to keep clothing items that you haven’t worn in six years because you think you might “someday” want to wear it. Chances are that you never will, and it’ll continue to take up space in your closet. Instead, create rules when you’re going through your items and try not to make exceptions. Worst case scenario is that you keep your “maybe” items in a self-storage unit while you move and revisit them later, but avoid bringing too many items you’re unsure about into your new home. Doing so will only result in clutter and unnecessary stress.
9. Make a Plan for Sentimental Items
Sentimental items can be difficult to get rid of, but don’t feel like you need to donate them or throw them out just because you’re downsizing. Find a climate-controlled self-storage unit to transfer sentimental items or antique furniture into while you’re living in a smaller space. This allows you to keep things in good condition and easily accessible, without having to pay for more square footage in your apartment or home. Just make sure that you take the necessary precautions to prepare them for storage and keep them protected while they’re away.
10. Get Rid of Unwanted Items
Once you’ve gone through all of your items, get rid of anything you no longer need or want. You can donate them to a local charity, give them away to friends or family, or even try and sell them for a little extra cash. Whatever you do, just make sure you get rid of things before it’s time to move. If items are damaged or broken, simply toss them in the garbage.
11. Rent a Self-Storage Unit
Finally, find a self-storage facility near your new home and rent a unit that will accommodate any of your excess belongings. This will help you keep things safe and secure during the downsize without having to get rid of expensive items or sentimental furniture. Climate and temperature-controlled units are the best option for long-term safekeeping.
If you’re downsizing, but don’t want to get rid of certain items, a self-storage unit is the best option. The Lock Up Self Storage offers temperature controlled self-storage units to help you during downsizing, We offer a variety of self-storage units in varying sizes to meet your needs and help you enjoy your livable areas in a smaller space. With our flexible leasing options, you can test out a unit with short-term rentals and extend into long-term rentals as needed. All of our units are temperature controlled and offer stable levels of humidity to ensure that all of your things stay in great condition. Our facilities are protected with top-of-the-line security features like perimeter alarms, gated access codes, and 24/7 CCTV. To learn more about our self-storage units at The Lock Up, give us a call today at 1-866-327-LOCK or stop by one of our locations for a tour of the facility.


